 CPR ENS Toolkit
Document 2 of 6
CPR ENS Toolkit
Document 2 of 6
Make your name actually resolve
Setting your records (Document 1) tells the world what your name is. This document makes the name load a page — by pinning that page to IPFS and pointing your name's contenthash at it. The result: type yourname.eth and a real site appears.
01What a contenthash is, in plain English
A normal website lives on a server at an address someone owns. A contenthash is different: it's a record on your ENS name that points at a file pinned to IPFS — a decentralized network where files are addressed by their content, not by who's hosting them.
Two pieces make it work:
1. The page lives on IPFS. You upload an HTML file to a pinning service (we use Pinata). IPFS gives it back a CID — a content ID, a long string starting with baf... that uniquely identifies that exact file forever.
2. Your name points at that CID. You set the contenthash record on your ENS name to ipfs://<that CID>. Now anything that resolves ENS — like eth.limo — knows to fetch your page from IPFS when someone visits your name.
02Pinata: account and (optional) API key
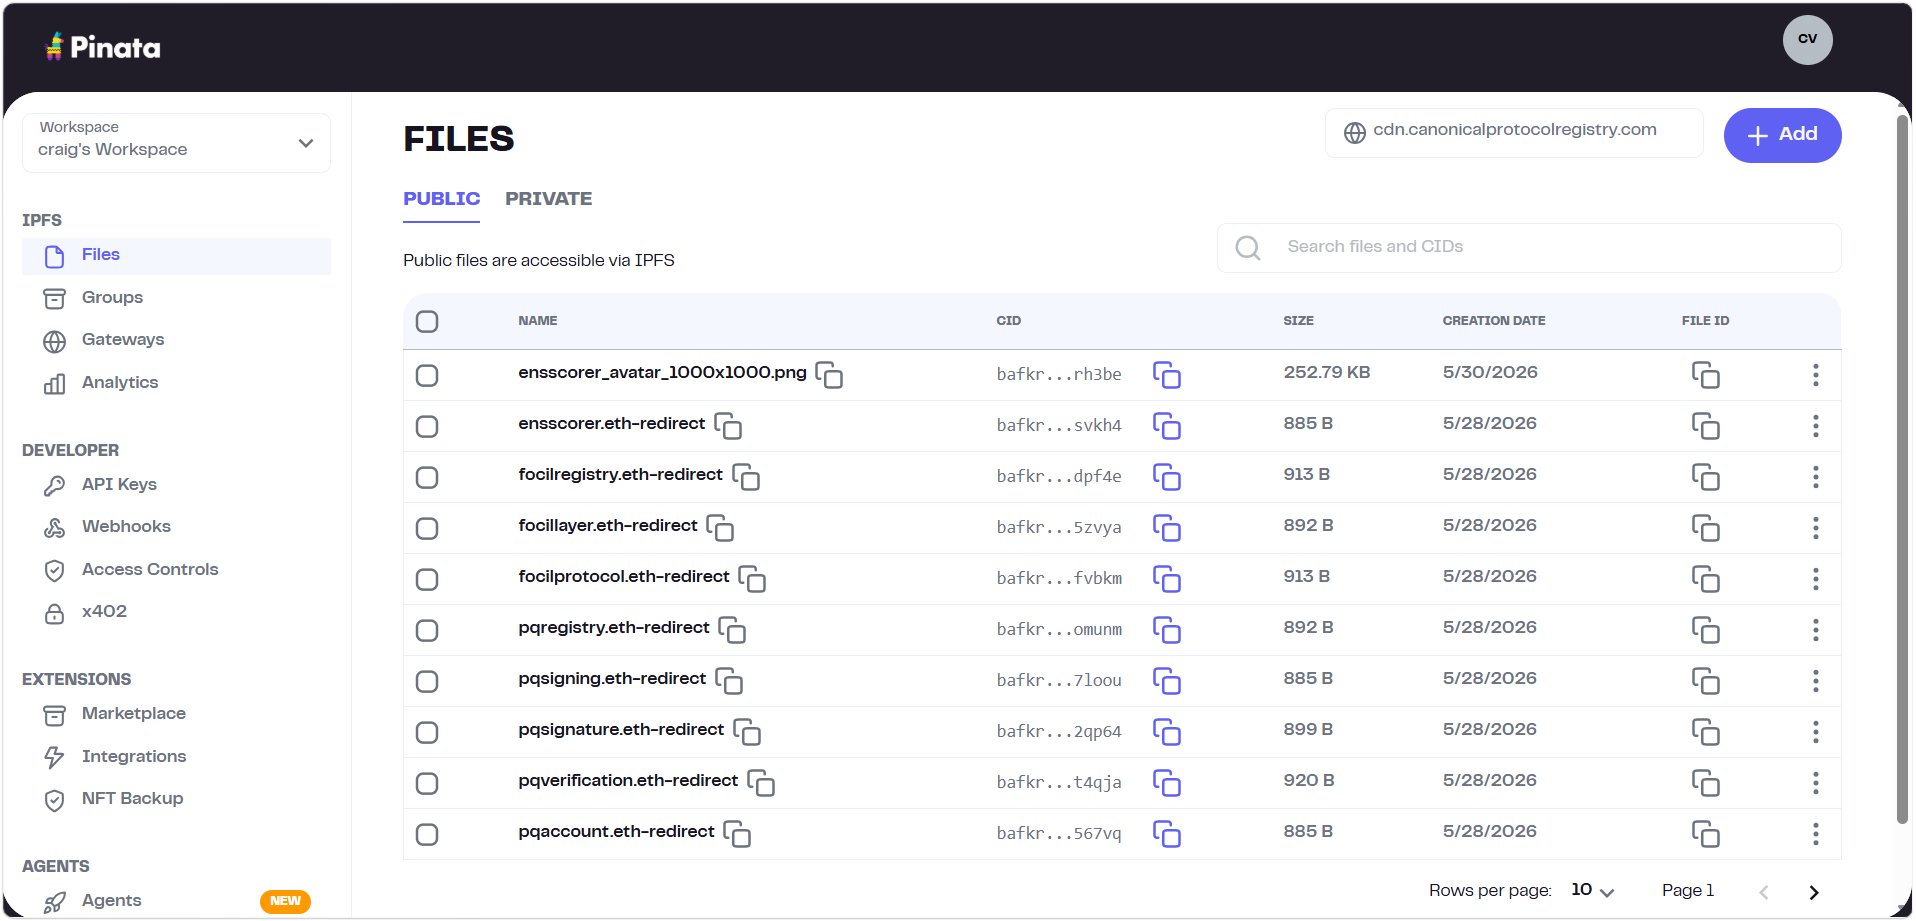
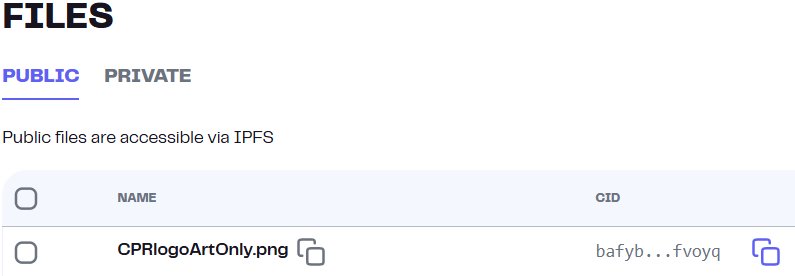
Pinata is the pinning service. Make a free account at app.pinata.cloud. Once you're in, you land on the Files dashboard — this is where your pinned files live, each with its CID.
For pinning through the website you don't need an API key at all — the dashboard's upload button is enough (Section 3). You only need an API key for the script-based workflow (Document 5), which is what produces the canonical CPR CID format. Since you'll want that eventually, here's how a key is made.
Go to Developer → API Keys and click + New Key.

Give the key a name. You can flip Admin on for full access, or leave it off and grant only what's needed under Customize Permissions.
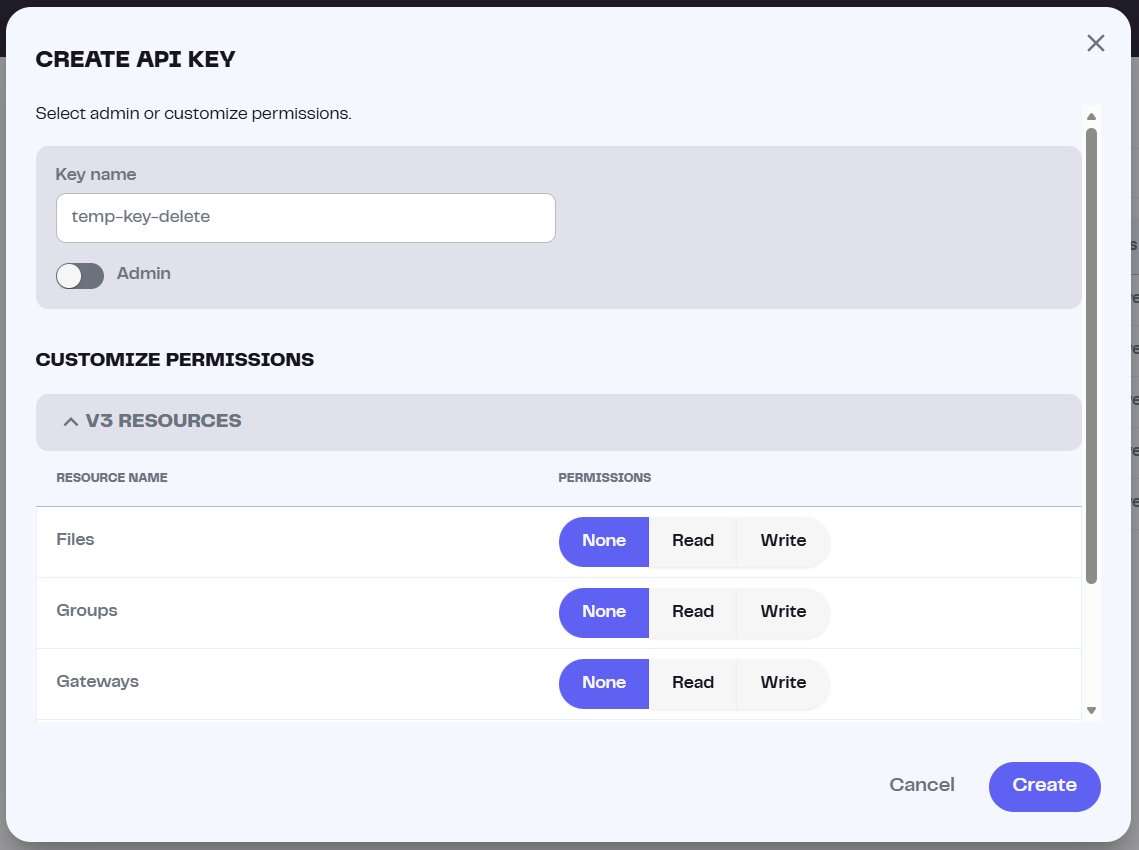
Scroll down inside the dialog. The first permissions you see (Files, Groups, Gateways) are the newer V3 ones — but the pinning permission is further down. Use the scrollbar on the right side of the dialog to scroll past those until you reach the Legacy Endpoints section.
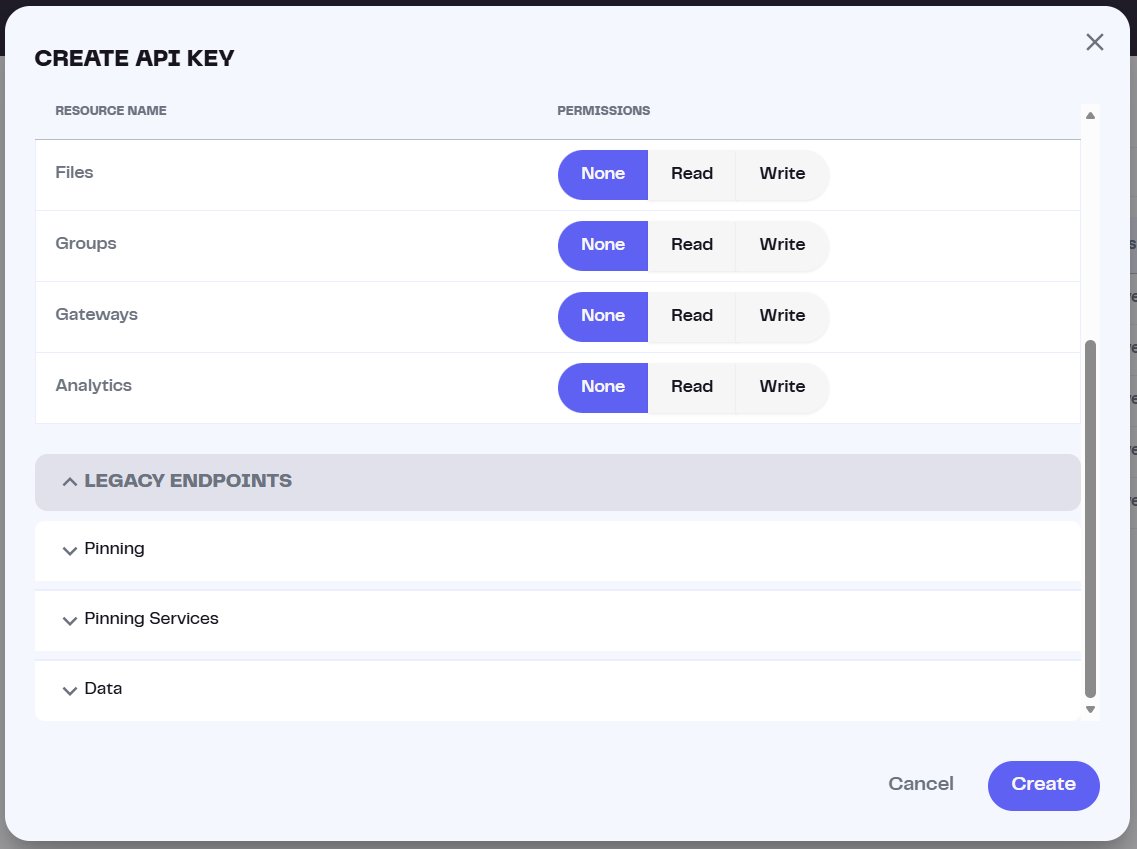
Under Legacy Endpoints → Pinning, tick pinFileToIPFS. That's the one permission that lets the key upload files.
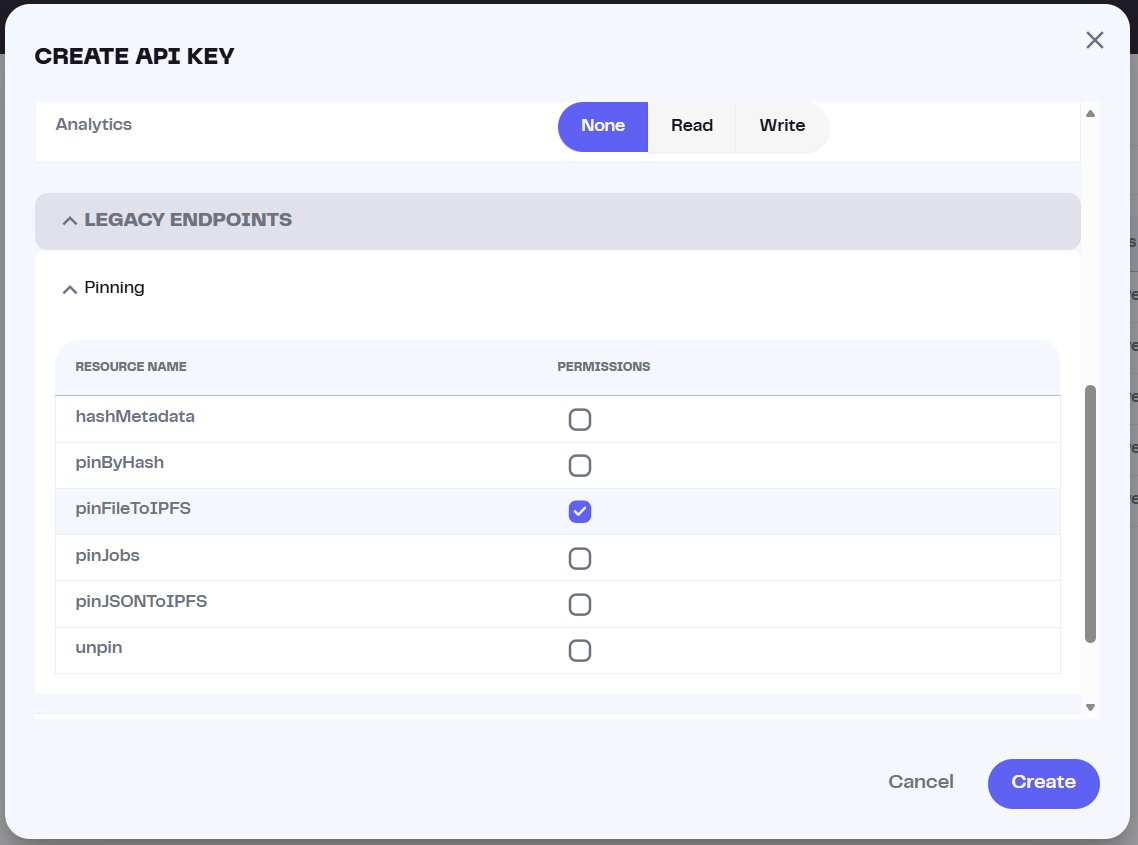
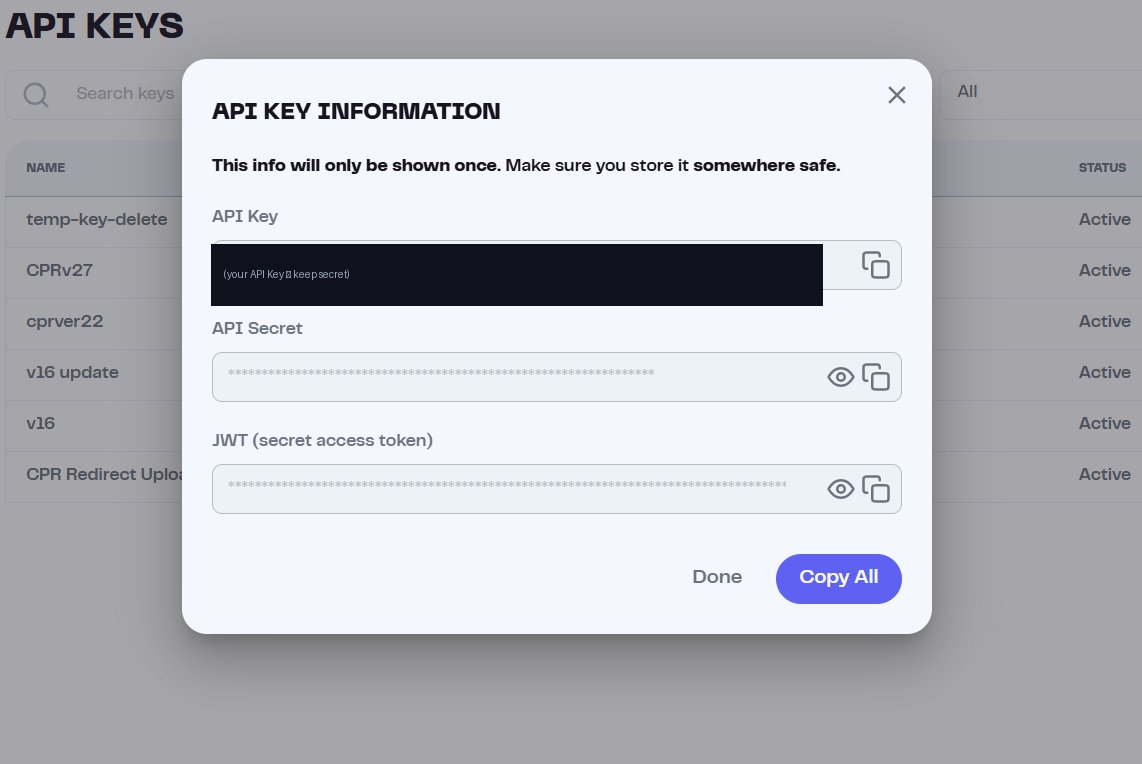
pinFileToIPFSWhen you click Create, Pinata shows the key, secret, and JWT once. Copy them somewhere safe immediately — you can't see them again.
03Pinning your page (the dashboard way)
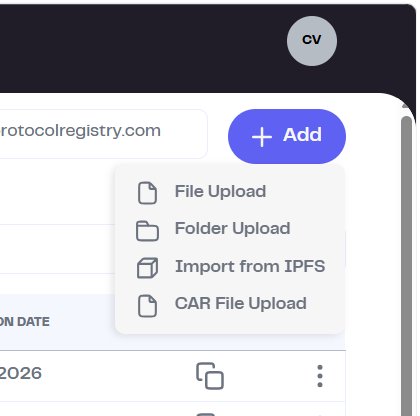
The simplest way to pin a file — no key, no script. On the Files page, click + Add → File Upload.
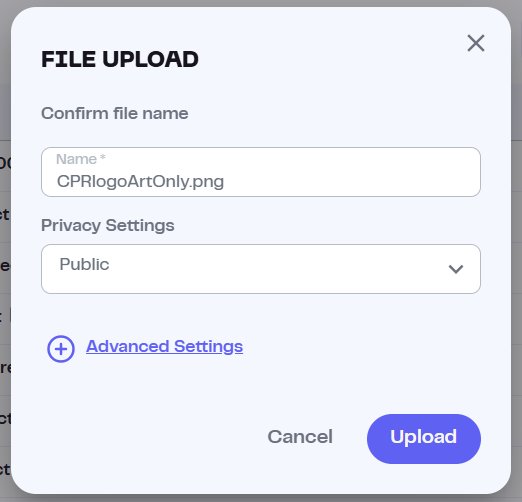
Pick your HTML file, confirm the name, and leave Privacy on Public (a public page needs to be publicly fetchable).
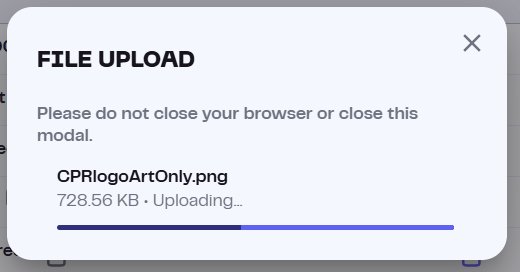
It uploads and pins.
When it's done, the file appears in your list with its CID. That CID is what your name will point at.
bafyb… CID)04The CID format: bafkrei vs bafybei
Look closely at the CID a pin gives you. There are two formats you'll see, and the difference is the single most important detail in this whole guide.
cidVersion:1. This is what every CPR registry record uses.Both are CIDv1 and both resolve. But CPR standardizes on bafkrei for consistency — every contenthash across the registry uses the same raw-codec format, so nothing is mixed. The dashboard can't produce bafkrei; only the script can, because it sets the codec explicitly.
bafybei CID is fine. For a name you want to match the CPR standard exactly, pin it with the script (Document 5), which forces cidVersion:1 and warns you if the result isn't bafkrei. Mixing formats across your names is what to avoid.How to verify your CID: read the first few characters. bafkrei = raw CIDv1 (CPR standard). bafybei = UnixFS CIDv1 (dashboard default). A Qm… prefix means CIDv0 — old format, don't use it for CPR records.
05Setting the contenthash on your name
Now point your name at the pinned file. This is one on-chain transaction in the ENS app — keep a little ETH in the owning wallet for gas.
- Open your name in the ENS appGo to app.ens.domains, search your name, and connect the wallet that owns it.
- Find the contenthash / "Content" fieldIn the Records editor (same place you set your text records in Document 1), look for the Content Hash field — separate from the text records.
- Enter your CID with the
ipfs://prefixPasteipfs://followed by your CID. The prefix tells ENS this is an IPFS file. Example below — swap in your own CID.ipfs://bafkreia6yybbeq563syjmmys4neudryqus6glf3izr26tvzwrhyairh3be - Save and signClick Save / Confirm. Your wallet asks you to sign the transaction. Approve it and pay the gas.
- Wait for confirmationOnce the transaction confirms on-chain, the contenthash is set. Your name now points at your page.
ipfs:// (not https:// and not a bare CID), and the CID itself must be CIDv1 (bafkrei or bafybei) — never a Qm… CIDv0. Wrong prefix or old CID format = the name won't resolve.